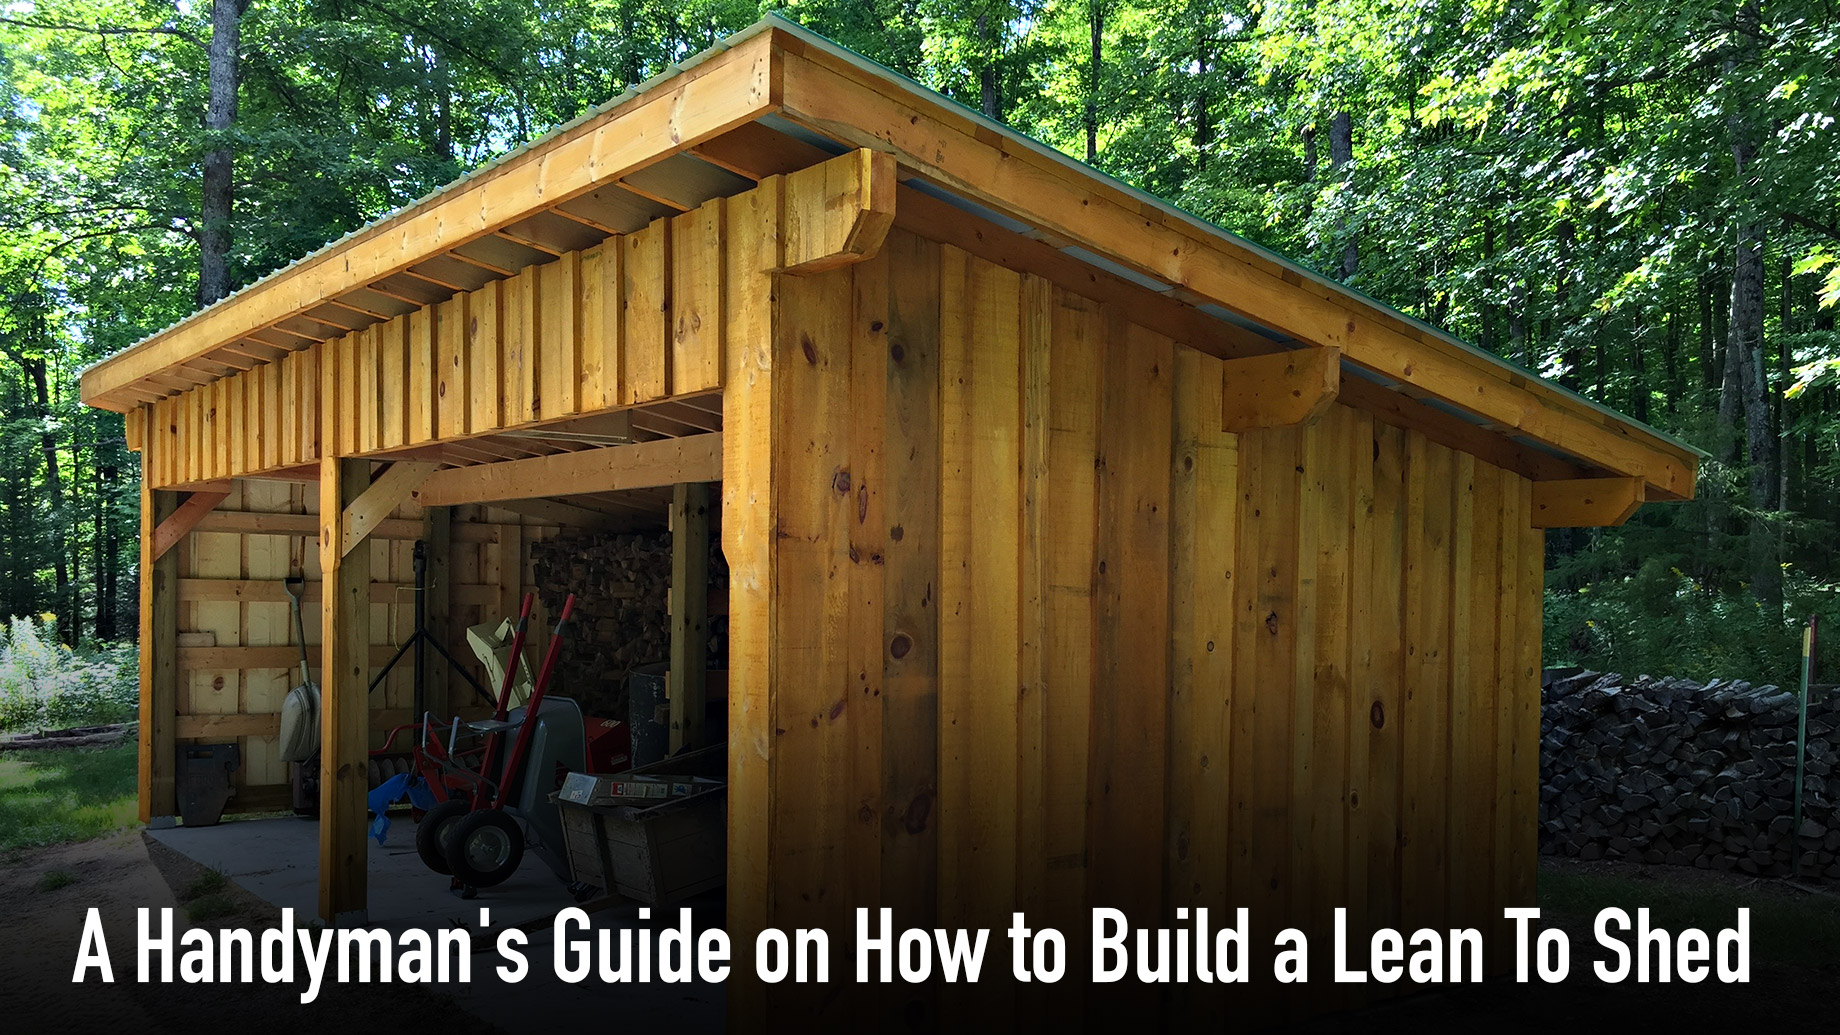
Hey there, fellow DIYers! Tired of tripping over garden tools and storing your precious lawnmower under a flimsy tarp? Building a lean-to shed is a fantastic way to create extra storage space in your yard, and it's a project that's totally doable for even the most novice builder. Let's dive into the details, step by step, and create a new haven for all your outdoor gear!
1. Planning and Preparation:
First things first, let's get organized. It's essential to have a solid plan before you start wielding power tools. Here's what you need to do:
Decide on the size and shape: Think about what you want to store. Do you need a small shed for tools, or a larger one for lawnmowers and bikes? Measure your space and sketch a rough plan of your lean-to.
Choose the location: Consider sun exposure, drainage, and access points when choosing where to build. You'll want a spot that's relatively flat and easy to work with.
Get your materials: You'll need lumber for the frame, siding, roofing, and flooring. Remember, you'll need a sturdy foundation for the lean-to. Consider concrete blocks or a pressure-treated timber base.
Gather tools: You'll be using a lot of tools, so make sure you have everything on hand: circular saw, drill, tape measure, level, hammer, screwdriver, and safety gear!
2. Building the Foundation:
Alright, let's get this foundation in place! This is crucial for the stability of your shed. Here's how to do it:
Lay out the base: Use stakes and string to outline the size and shape of your lean-to's foundation.
Prepare the ground: Remove any grass or debris and level the area. For concrete blocks, you'll need to dig out small pits for them to sit in.
Install the base: If you're using concrete blocks, place them according to your plan and make sure they're level. If you're using timber, secure it with concrete anchors or treated screws. Don't forget to factor in drainage!
3. Constructing the Frame:
The frame is the backbone of your shed, so make sure it's sturdy and well-constructed.
Cut the lumber: Measure and cut your framing lumber according to your plan. You'll need vertical posts, horizontal beams, and diagonal bracing. Always use safety gear when working with power tools.
Assemble the walls: Attach the vertical posts to the base using screws or bolts. For a lean-to, one side will be attached to an existing structure, like a house or garage.
Add the roof supports: Attach horizontal beams to the top of the posts. These will be the supports for the roof.
Install bracing: Add diagonal bracing for added stability. This is crucial for resisting wind and heavy loads.
4. Sheathing and Siding:
Now it's time to give your shed some skin!
Install sheathing: Attach sheets of plywood or OSB (oriented strand board) to the frame. This will create a solid surface for the siding.
Choose your siding: You have many options here. Think about your budget and desired look. Common choices include wood planks, vinyl siding, or corrugated metal.
Attach the siding: Follow the manufacturer's instructions for installing the siding. Make sure it's secure and weatherproof.
5. Roofing and Finishing Touches:
We're almost there! Time to top off your shed and add the final details.
Lay the roofing: Choose a roofing material that's appropriate for your climate and budget. Common choices include asphalt shingles, metal roofing, or tar paper.
Install the flashing: Use flashing around the edges of the roof and around any openings to prevent leaks.
Install the doors and windows: Measure and cut the openings for your doors and windows. Install them securely and weatherproof them.
Add finishing touches: Paint or stain the exterior to protect it from the elements and to add a personal touch. You can also install trim around the windows and doors.
6. Interior Finishing:
Now for the inside! Let's make your shed a functional space.
Install the floor: Lay plywood or OSB on top of the foundation for your floor. You can also install concrete for a more durable floor.
Add insulation: Consider insulating the walls and roof to keep your shed warmer in the winter and cooler in the summer.
Install shelving and storage: Add shelves, cabinets, or hooks to organize your belongings. Think about what you'll be storing and design your interior accordingly.
7. Time to Celebrate!
Congratulations! You've successfully built a lean-to shed. It's a great feeling to have a new space to store your belongings and keep your yard organized.
Safety First:
Always wear safety glasses and hearing protection when working with power tools.
Use a sturdy ladder when working at height.
Be mindful of your surroundings and make sure the area is clear before you start working.
If you're unsure about any part of the construction process, don't hesitate to ask for help from a more experienced builder.
Tips for Success:
Plan ahead! Think about what you want to store and how much space you need.
Choose quality materials. A sturdy shed will last longer and be more functional.
Don't be afraid to ask for help. Friends and family can be great resources.
Enjoy the process! Building a shed is a rewarding experience.
With a little planning and effort, you can create a stylish and functional storage shed that will add value to your property for years to come. Happy building!
No comments:
Post a Comment