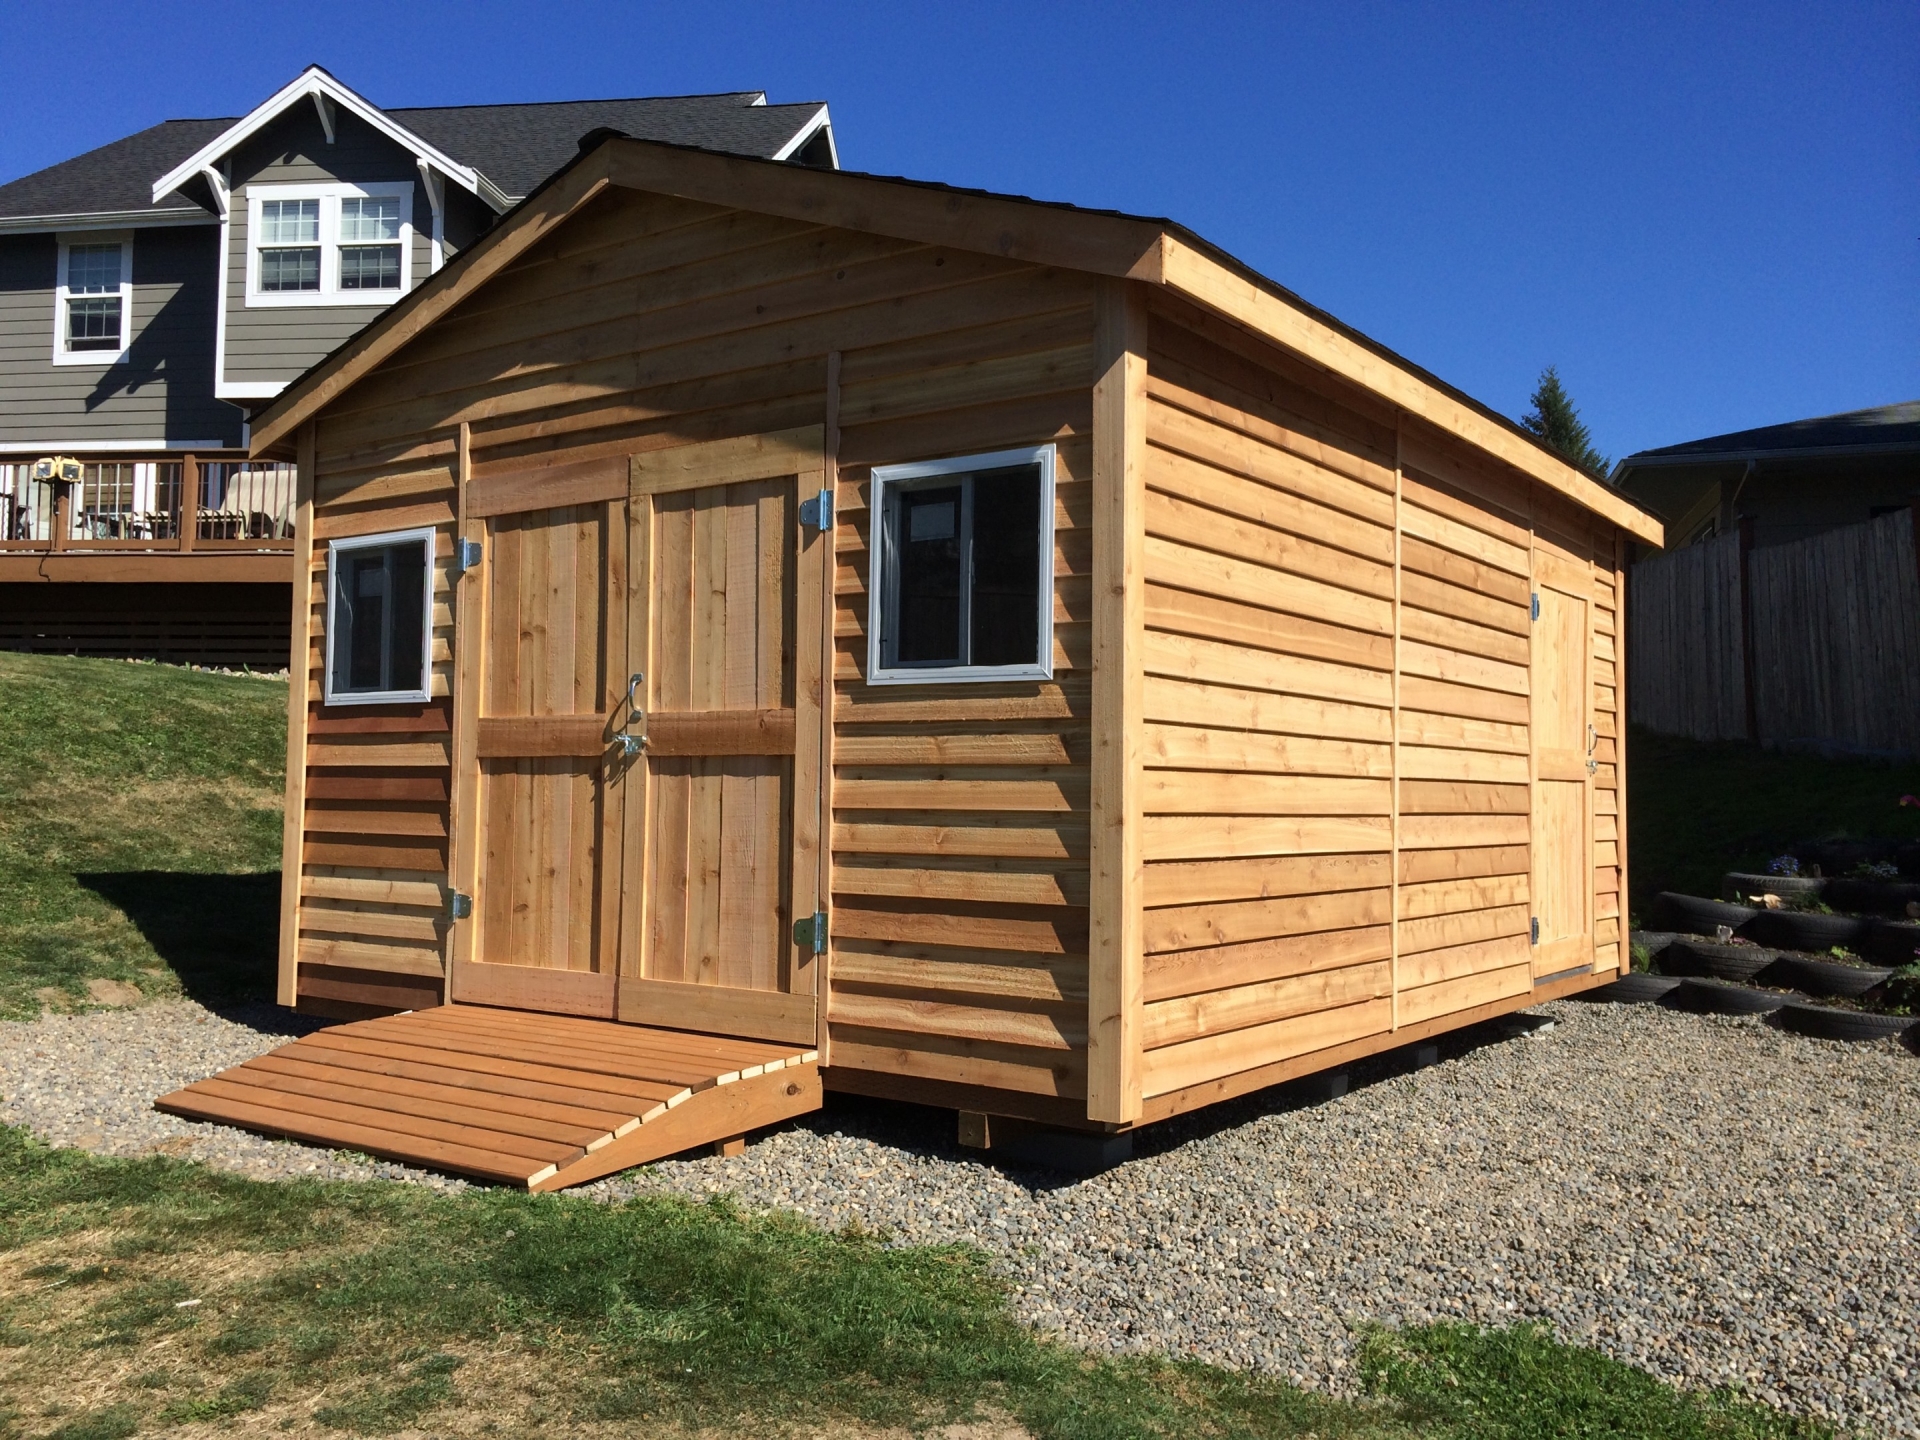
Alright, so you've decided to tackle a shed project. Good for you! There's a real sense of accomplishment in building something with your own two hands, and a sturdy shed is a fantastic addition to any backyard. We're gonna make this a weatherproof fortress, so get ready to channel your inner builder. This guide will be your roadmap through the whole process, from planning to painting, with a dose of practical advice along the way. Let's get started!
First Things First: The Planning Stage
Before you start swinging a hammer, you need to make some decisions. It's like planning a trip â€" you wouldn't just jump in the car without knowing where you're going, right?
Location, Location, Location: Pick a spot for your shed that's level, accessible, and not too close to your house or any utilities. Check for any restrictions or permits required in your area.
Size Matters: 12x16 is a good starting point, but think about what you'll be storing. Do you need space for tools, lawn equipment, bikes, or maybe even a workshop?
Foundation: A concrete slab is the most durable option for a weatherproof shed. It's also easier to level and offers a solid base for your structure. You could go with a cheaper, simpler gravel base, but keep in mind that it won't be as durable or level in the long run.
Material Choice: Pressure-treated lumber is the way to go for the base and framing. It's resistant to rot and decay, which is crucial for a weatherproof shed. For the siding, you can choose from options like wood, vinyl, metal, or even fiber cement.
Let's Get Building: The Foundation
Once you've finalized your plans, it's time to start building your shed's foundation. This is the base of your project, so do it right!
Prep the Site: Remove any existing vegetation, level the ground, and compact the soil.
Lay the Concrete: Pour a concrete slab according to your plans. Make sure it's at least 4 inches thick and reinforced with rebar for added strength. Remember to create a slight slope for drainage, and use a level to ensure everything is perfectly flat.
Cure Time: Let the concrete cure completely before moving on. This can take a few days.
Framing Up the Shed: The Structure
Now it's time to build the bones of your shed. This is where you'll see your vision start to take shape.
Cut the Framing: Using your plans, cut pressure-treated lumber for the wall and roof framing. Don't forget about the door and window openings!
Construct the Walls: Assemble the wall frames, securing them together with nails or screws.
Build the Roof: Create the roof trusses and attach them to the wall frames. Use proper angles and bracing to create a strong, stable roof.
Sheathing Time: Cover the walls and roof with plywood or OSB sheathing. This provides a solid surface for the siding and roofing materials.
Finishing Touches: Siding and Roofing
You're almost there! Now let's give your shed its finishing touches.
Siding Selection: Install your chosen siding â€" wood, vinyl, metal, or fiber cement. Make sure it's properly overlapped and secured to the sheathing.
Roofing Material: Choose a weather-resistant roofing material like asphalt shingles, metal panels, or cedar shakes. Install it following the manufacturer's instructions and ensure proper ventilation.
Doors and Windows: Install the doors and windows, making sure they're properly sealed and weatherproofed.
Weatherproofing Your Shed: The Final Steps
Now that your shed is built, it's time to make it weatherproof â€" this is what we've been working towards!
Caulk and Seal: Use a high-quality sealant around windows, doors, and any cracks in the siding and roof.
Flashing: Install flashing around the roof edges, chimneys, and any other openings to prevent water damage.
Roofing Underlayment: Install an underlayment beneath the roofing material to provide additional protection from moisture.
Ventilation: Make sure your shed has proper ventilation to prevent moisture buildup and rot. Consider installing vents in the roof and walls.
Finishing Touches: The Extras
You've got a sturdy, weatherproof shed â€" but let's make it amazing!
Painting: Add a final touch of color with a good quality exterior paint. This will protect your shed and give it a fresh, finished look.
Flooring: Install a durable floor, such as concrete, wood, or vinyl, for easy cleaning and long-lasting use.
Shelving and Storage: Add shelving and storage solutions to maximize your space.
Bonus Tip: Invest in a high-quality door lock to keep your belongings safe and secure.
Congratulations! You've Done It!
You've built a weatherproof shed! Now go forth and enjoy your new storage haven, knowing you crafted it with your own hands. Remember, the most important thing is to take your time, follow the plans, and most importantly, have fun with the process! Building a shed is a rewarding experience, and you'll be proud of your accomplishment for years to come.
No comments:
Post a Comment